For many reasons I prefere managing my Linux servers over SSH.
One main reason is, that I can copy and paste commands on my host system and execute them on the target system.
Lately, I run into the problem that Cisco AnyConnect forced to route all traffic trough the VPN.
In my case Tunnel All was activated in my VPN profile, provided by my remote location.
That prevented the SSH connection to my target virtual machines running localy.
Unfortunately, I had not the necessary access rights to change the given VPN configuration.
This post briefly describes how I solved this problem by adding port forwarding rules on the host for the VMware virtual network interface.
Host System Setup
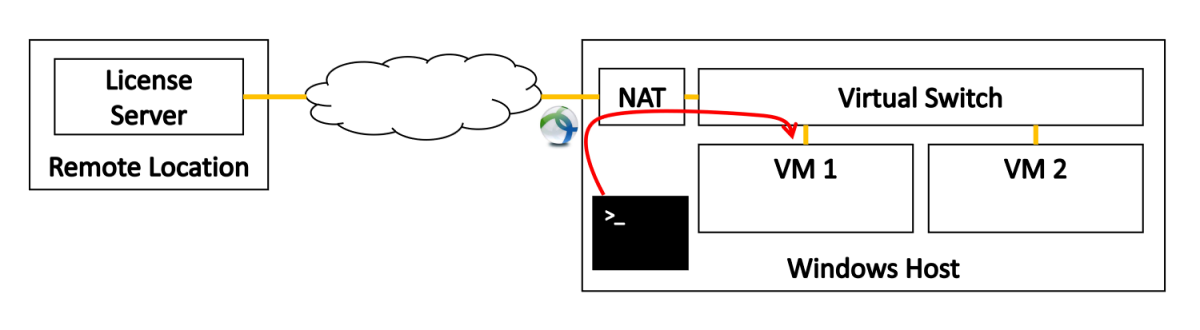
The setup is depicted in the figure below and consists of a Windows host with VMware Workstation and two Ubuntu servers running localy on VMware.
To access the services from my remote location, for example a license server, the host as well as the VMs needs to have access to the remote infrastructure over VPN.
On both virtual machines software is running that needs to retrive the license from the remote license server over the network.
On my host, Cisco AnyConnect is used to establish the VPN connection.
The VMs grants access to the remote location by applying the Network Address Translation (NAT) on the virtual network interface.
Enabling Port Forwarding
Port forwarding can be enabled by opening the virtual network editor.
After opening the GUI press Change Settings on the bottom right.
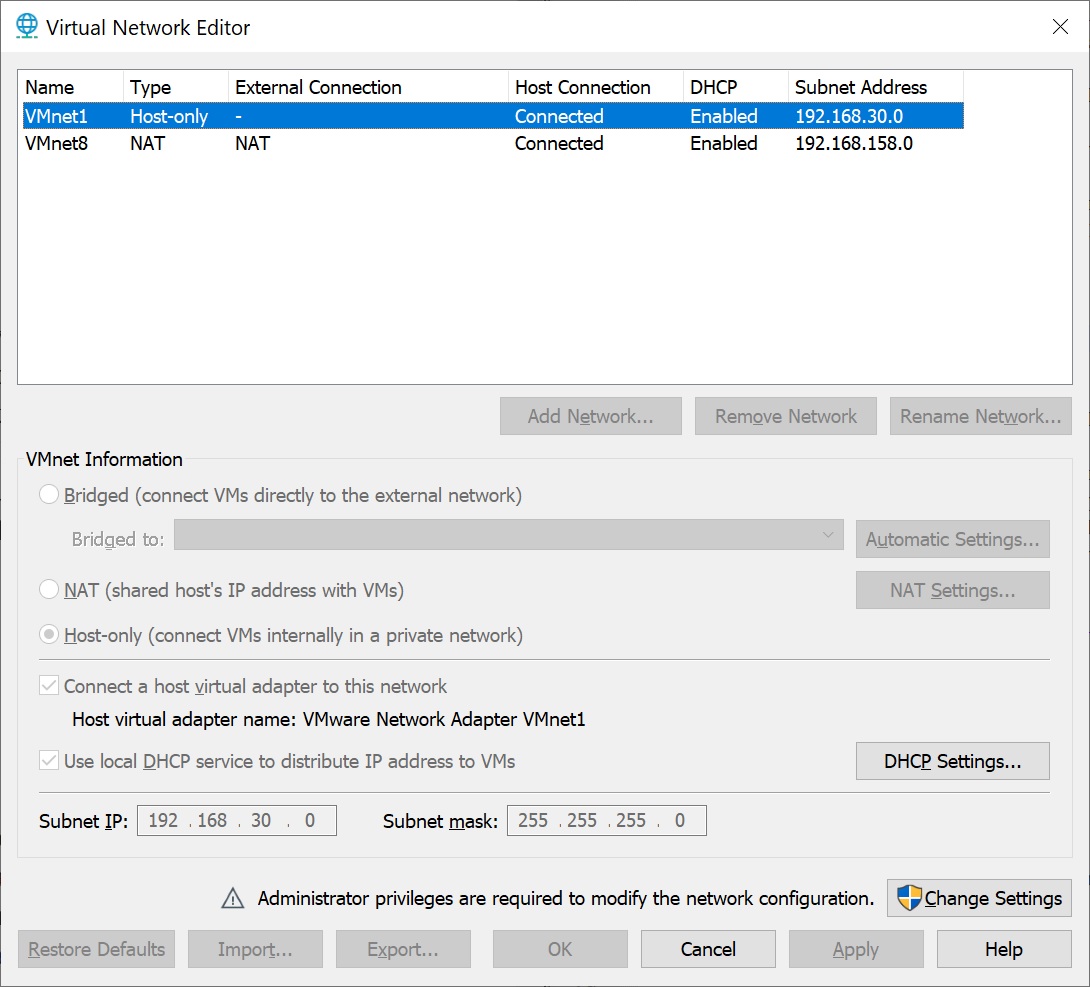
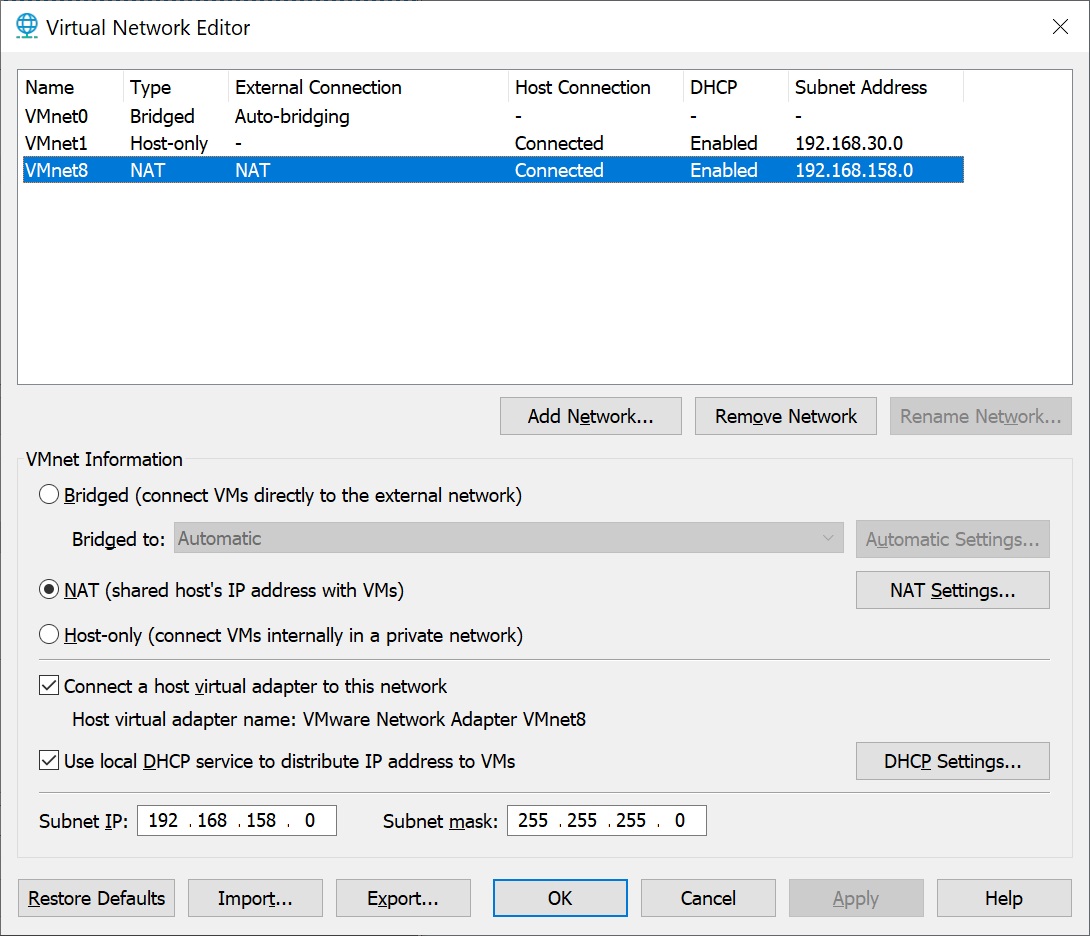
Then select the virtual network and press the button NAT Settings.
In my case VMnet8 is configured as NAT.
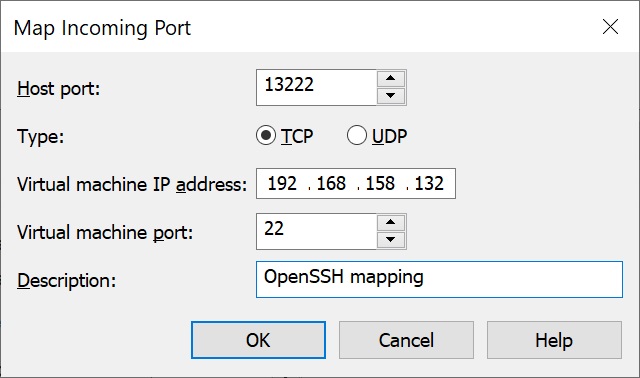
In the appearing querry click the button Add... to add a new map rule.

Finally, the forwarted port can be mapped to the VM.
The host port is composed of the last IPv4 octet and the port used on the destination.
After applying the ruels, the two port forwarding rules appear in the NAT settings.
The first VM has the IP 192.168.158.132 and the second 192.168.158.133. Both VMs use port 22.
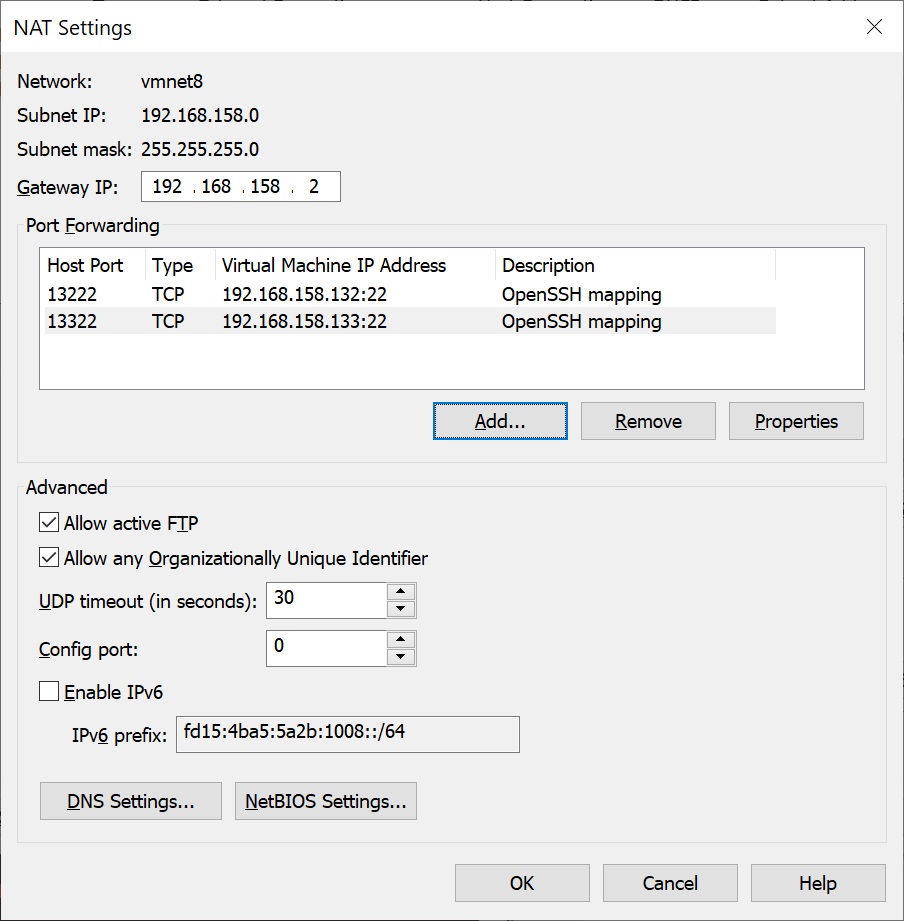
The settings are applied by pressing the button OK.
Establish an SSH Connection
Finally we are ready to establish an SSH connection from our host to the two VMs configures previously.
I recommend to use the loopback IP of the host system because the host address may change with every new VPN connection.
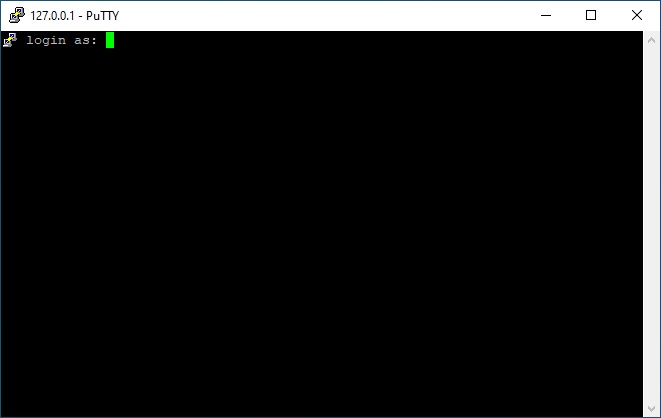
The figure below shows the settings for the first VM where the host IP is specifiyed as
127.0.0.1 (local host) and port 13222.
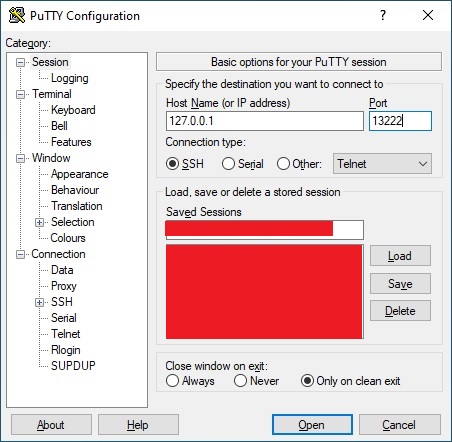
After pressing the Open butten, the SSH connection is established and we see the login screen of the virtual machine.