I recently had the opportunity to buy a cheap LTO-4 tape drive with some new tapes. LTO-4 tapes have a raw data capacity of 800 GB and compressed up to 1'600 GB. This fits perfectly with my current data usage on my NAS. But why should I use a tape backup in 2018? There are good reasons for it. Tapes have a high capacity on a low cost per capacity. LTOs have a higher longevity compared to a mechanical hard disk. For backups it is always a good idea to use a different technology, like the one to be backed up.
Setup
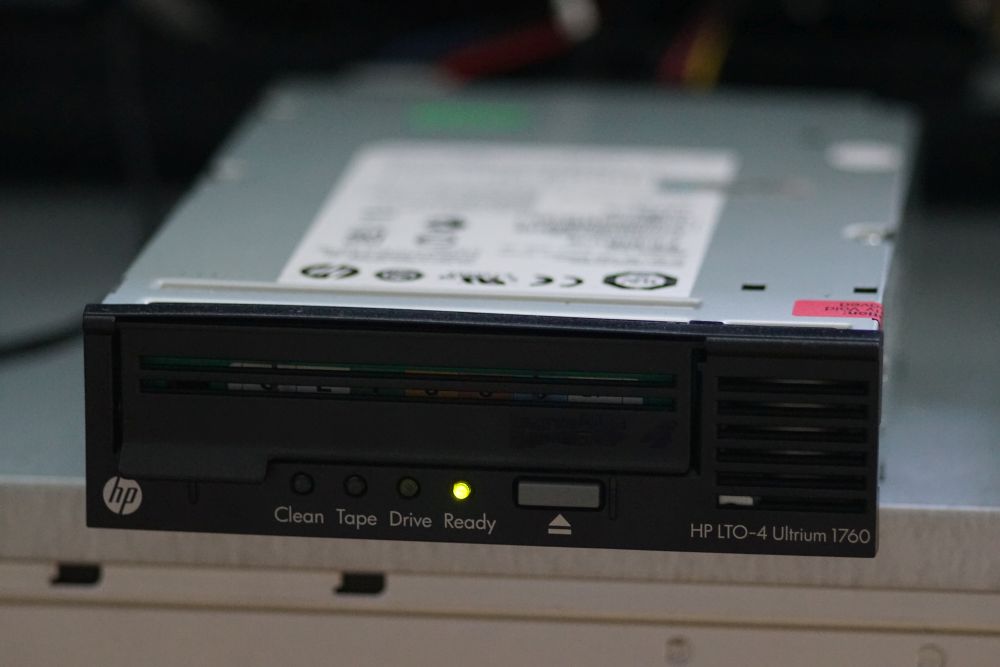
I connected the LTO drive to a free SAS port on my storage server. Inside this server I have a 16 port SAS-3 Host Bus Adapter (HBA). The server is running Ubuntu 16.04. The necessary package like tar and mt are already installed. I just needed to install the package buffer. When a tape is inserted we can find the device under /dev/st0.
Backup strategy
The idea is to monthly backup the data from my NAS to a tape. After one year, I will keep just one tape, the others can be used again in the monthly cycle. I’ll make sure to always chose a new tape for the yearly backup. This way, I can reduce the probability that a tape will fail due to the lifetime. The date on which the backup was performed is written directly on a post-it to the tape. This will help me to always identify the tapes.
With this strategy I need 12 tapes during the first year due to the monthly cycles. For each additional year I will just need one new tape.
Script for automatic backup
To automate the monthly backup, I wrote a small script which will be executed at the state of the last day of each month. The script copies all data from my NAS to the tape and then ejects it. So once a month I must manually insert a new one.
I tested the backup also with the package ‘buffer’ which can create a streamer. I discovered, that this speeds up the copy sequence by almost 10%. Further, it seems like the tape is running with a more constant speed, which will increase the lifetime of the tapes.
#!/bin/sh

SOURCES="/media/NAS"                                 # source files
TARGET="/dev/st0"                                    # destination file
LOGFILE="/var/log/tape/log_$(date +%Y_%m_%d).txt"    # logfile

tar -czvf - $SOURCES | buffer -o $TARGET             # copy files
tar tzvf /dev/st0 > $LOGFILE                         # check files
mt -f $TARGET rewoffl                                # rewind and eject
I added the following line to the cron file. This will automatically call on the first day of every month the tape_backup script.
0 0 1 * * /usr/local/bin/tape_backup
All files that have been copied are written to the log file located at /var/log/tape/
Restoring data
To restore the data, I can simply run the following command. This will copy the data from the tape into the current folder.
buffer -i /dev/st0 | tar xzvf -
If I do not want to restore the entire backup, I can run the following command. I just have to adapt the files/folders which have to be restored.
tar -xzvf /dev/st0 -C /path/to/restore
Conclusions
If you have the necessary hardware for tape backups it is very simple to do the setup and write a short script. The tape backup complements my strategy with rsync the data to a disk and the encrypted cloud backup. It protects me against ransomware because the data is stored offline. If I once have the chance to buy a cheap tape library I could even automate the changing of the tapes and cleaning the drive.
To reduce the power consumption on the storage server, it would be good to be able to disconnect the power supply for the tape drive when it is not in use.